 Probably the most iconic soup in the world courtesy of Mr Warhol, condensed mushroom soup has always been a major lifesaver when I have had to throw together a forgiving supper dish that you can bung in the oven and forget about. So imagine my distress, when waltzing in to Waitrose, I am informed that my favourite sauce cheat has been transformed from Cambells to Batchelors. Disbelief, incredulity, why didn’t my best friends tell me? Yes, all those emotions, followed by a grudging acceptance that indeed, things do change and reluctantly, it may be time
  to move on. Grudgingly, I have to admit that it does taste exactly the same. Okay, now I have had my cathartic rant, what can we do with it? I like to make it in to a chicken, sweetcorn and mushroom casserole and If I’m feeling particularly energetic, I’ll add some dumplings on top. It is so simple, put either boneless chicken breasts or thighs, chopped in to chunks in to an oven-proof casserole, add some sliced button mushrooms, 1 can of condensed mushroom soup and
  1 can of creamed sweetcorn. Put in the oven on Gas Mark 4 or 180C/160C fan and leave for a minimum of 45 minutes, but up to 1hr and 30 minutes or even longer. If you wish, make some dumplings by combining 100g of self raising flour, 50g suet, a shake of salt and pepper, you can add 1/2 teaspoon dried mixed herbs if you wish and mix together with a little cold water until if forms a stiff dough. Make in to 4-6 individual balls,around the size of walnuts and add to the casserole about 20 minutes from the end of cooking, with the lid on. This also works really well with pork, too with or without the sweetcorn. The thing is with this Campbellgate conspiracy…I’m still not sure I believe them and somewhere there is still a stack of lovely, Campbells condensed soup.
Category Archives: Day-to-day grub
Cook these dishes for supper, lunch or anytime you want comfortable, good cooking
Summer time and the living is easy – rack of lamb – not torture, easy-peasy cooking
You don’t need implements of torture to cook this impressive little dish, it is great for supper and also good for a dinner party, but do remember to check with your guests how they like their lamb cooked, as not everyone likes it pink in the middle. Cooking in the heats of the “Good Housekeeping Cook of the Year” contest a few years ago, there was an appalling woman, who snuck around trying to sabotage everyone else’s food so much that she forgot to put on her own oven and served virtually raw rack of lamb. She tried to cover it up by saying that was how she liked it and ate a chop to demonstrate in a Twilight sort of way, but no-one believed her – cheats never prosper – well not unless they’re playing Monopoly.
 Anyway….all you need for this is…. a rack of lamb, approximately 6 to 8 chops, if much bigger take care to adjust the cooking time, 2 large tablespoons of mint jelly and that’s it! pre-heat the oven to Gas Mark 6, 200C/180 fan. Place the mint jelly in a large frying pan over a medium heat, as the jelly starts to melt, place the rack of lamb in the pan, and
  baste with the jelly as it starts to caramelise, keep doing this for about 5 minutes until the whole of the rack of lamb is covered in a lovely gooey sauce. Remove the lamb and scrape the rest of the sauce over it and place in an oven proof dish in the pre-heate dovern for 25 to 30 minutes . You will need to check on the weight and size of your joint for exact cooking
  times, but this should give you nice pink chops with a lovely caramelised, brown outside. Serve with any of your favourite vegetables. How easy was that? This works for lamb fillet but has a much shorter cooking time. You can also vary the jelly, it is wonderful with redcurrant and also with chilli jelly, recipe for home-made jellies coming next week., get your
  jelly bags ready
Summer time and the living is easy – green thai curry
I love Thai food, especially the sort you get served on a hot beach near Phuket with a foot massage for dessert. However, you can’t have it all, and this is a really easy recipe to re-create some of those flavours, if not the glorious delight of toe rubbing. I always keep a large bag of shelled, uncooked prawns in the freezer (Costco does a fantastic deal), because they come in so handy for a dish like this that as virtually all the other ingredients may come from your store cupboard.
 So you will need, l piece of lemon grass, peeled and chopped, fresh is best but the bottled stuff is fine 450g/1lb of defrosted or fresh raw prawns that have been de-veined, that means removing that funny black line, which is in fact its digestive tract, and believe me you don’t want to eat what that prawn has been eating! 2 tablespoons of green curry paste, we are really lucky as there is a brilliant Thai food store in Maidenhead, just next to the market where you can buy fresh
  ingredients and great curry pastes. My favourite is Mae Ploy, they make a variety of flavours which keep in the fridge for ages. However, all supermarkets have a Thai section now and green curry paste is very easy to come by. Of course, you can make your own, but even in Thailand most people buy it! If you would like a recipe, send me a message. You will also need 5 kaffir lime leaves or the zest of two limes. You can buy fresh kaffir lime leaves and keep them in the freezer and chuck them in straight from it. It wouldn’t be a Thai dish without fish sauce, it’s funny isn’t it? Like shrimp paste, it’s truly
  disgusting on its own, but tastes amazing in the curry. Sorry, I digress, you need 2 tablespoons of fish sauce, again most supermarkets have it, if you can’t get it, light soya sauce will do. 2 teaspoons of soft brown sugar and a tin of coconut milk, (splash out calorie-wise and get the whole fat one, the low-fat simply isn’t as creamy and doesn’t have the body). To garnish you need either Thai basil, or fresh english basil finely chopped.
Method: In a frying pan or a wok, add 1 teaspoon of vegetable oil and over a medium heat, fry the curry paste for a moment, add the lemon grass, kaffir leaves, fish sauce, sugar and coconut, reduce the heat to low and cook for 5 minutes. Now, the brilliant thing about this dish is that if you are cooking for a dinner party, you can do all this in advance and then when you are ready to cook, bring the sauce back to a simmer, add the prawns and cook for 5 minutes, add the basil and then serve with steamed jasmine rice. Simple! I sometimes garnish this with some fried chopped red chillies and chopped cashew nuts, but you don’t have to. This dish also works with chopped chicken breast, too.
 To cook your Jasmine rice (Serves 2-4): Rinse 100g of rice under the cold tap until the water runs clear, place in a saucepan and add 200 mls of cold water. Bring to the boil and then cover with a tight fitting lid and place on the very lowest possible heat for 7 to 10 minutes until the excess water has steamed off. Turn off the heat and leave for a further 5 minutes. For different flavours, add a kaffir lime leaf to the water or replace some of the water with coconut milk or chicken stock. Don’t forget that Jasmine rice is meant to be sticky and is a different consistency to long grain and basmati. Enjoy and try and get someone to give you that foot rub!
Come on punk, make my day – eggs benedict, a Carmel tradition
 Carmel-by-the-sea in California has a Sunday tradition, which is nothing to do with Clint Eastwood, although on the occasions when I have indulged in this ritual, it really has made my day. Brunch at Katy’s Place, Mission Street is an experience not to be missed and definitely rates 5 Kimmy stars. http://www.katysplacecarmel.com/. Any restaurant where they do 16 types of Eggs Benedict has to be amazing in my opinion. They also serve the largest portions I have ever seen in my life, so key advice is to go there extremely hungry. So how do you make a simple Eggs Benedict? A classic combination is toasted muffin, sliced ham or crispy bacon and a poached egg topped with hollandaise sauce.
 First put your bacon under the grill, so that it will be cooked and crispy, then make your hollandaise sauce. I have really tried to find a suitable ready-made alternative, but it just doesn’t exist (Let me know if you have found one!!!) Place 2 egg yolks in a food processor, or whisk using a hand blender, with a little salt. In a saucepan, heat 1 tablespoon of white wine vinegar and 1 tablespoon of lemon juice, as soon as it is
  really hot, switch the processor on again and drizzle the mixture in. Now place 110g/4ozs of salted butter in the saucepan and heat gently until really hot, but make sure it doesn’t brown. Switch your processor on again and drizzle the hot butter in and voila, you have Hollandaise. Delia Smith adds her whisked egg whites to the mixture afterwards, and if you like a light texture this works well. Now, you will need a toasted muffin, actually I prefer crumpets and a poached egg. Poach your egg either by using poaching pods, those clever little silicone ones, or try using the traditional method of boiling a pan of salted water then reducing it to a very gentle simmer (enough to cover the eggs) add a teaspoon of white wine vinegar (this helps the white to set quicker round the edges), break you egg in to a cup first and gently slide in to the water, if your water is too hot, the white will separate. Leave for 1 minute, then put a lid on the pan and turn off the heat. Time for 3 to 5 minutes depending on how firm you like your yolk (delia says leave up to 10 minutes). The key thing to remember is that you MUST use fresh eggs, less than 4 days old or they will not poach properly. Finally, assemble your Eggs Benedict and prepare to indulge, this just cries out for a buck’s fizz on the side. One of my favourite variations, courtesy of Katy’s Place, is to substitute the bacon with sliced turkey breast and add several slices of avocado. Save up the calories, it’s worth it!
 A final note, by request was how to cook the perfect boiled egg, because let’s be honest, boiled egg and soldiers is not just for small children. So, place 1 large egg in a pan full of COLD water, enough to cover the egg. Place on high heat and as soon as it starts to boil, set the timer for 3 minutes and 15 seconds, once completed remove from the heat, drain and run under the cold tap to stop it cooking anymore. This is the perfect, runny, but not under-cooked egg. For a small egg, set timer for 3 minutes, for extra large, 3 minutes 30 seconds. Have a great weekend everyone!
P.S. Are you impressed how I’ve resisted all egg-based puns in this blog? It was egg-strordinarily difficult. Ooops.
happy as a clam…what have they got to smile about anyway?
 Why are those clams so happy? It’s a bit like that Larry bloke, I always wondered why he was so cheerful, too. Anyway, it doesn’t take much to make me happy and the sight of fresh clams on the fish counter at Waitrose brings genuine joy to my heart.
  It transports me to one of my favourite places in the world, Chez Black in Positano on the Amalfi coast, where they do possibly the best spahetti alla vongole in the world.
I couldn’t claim to recreate that perfection, but buy those beautiful little clams and make this unbelievably simple recipe. You will need at least 800g of fresh clams, rinsed thoroughly in cold water and any open ones discarded,( treat them the same as mussels), 1 packet of spaghetti dried or fresh, 2 shallots or 1 small white onion, chopped, 4 cloves of garlic, crushed, 1 tablespoon of olive oil,1 handful of chopped fresh parsley, half a glass of dry white wine, a knob of salted butter. Some people like to add a little red chilli or even tomato, but I like to keep mine simple. 
Method: Cook the spaghetti according to the instructions and whilst it’s boiling, place the olive oil, chopped shallots and crushed garlic in a heavy bottomed pan over a medium heat and cook until soft, but not brown, add the white wine and bring to the boil. Add the clams and keep the heat high, place a lid on the pan and cook for 4 to 5 minutes shaking occasionally. Add the parsley, the drained cooked spaghetti and stir in the butter. Season with black pepper and salt to taste, the clams can be quite salty so do taste first. Pour yourself a glass of wine and relax, this makes a lovely supper or is a good starter or rustic main course for a dinner party.
I’m not a pheasant plucker…
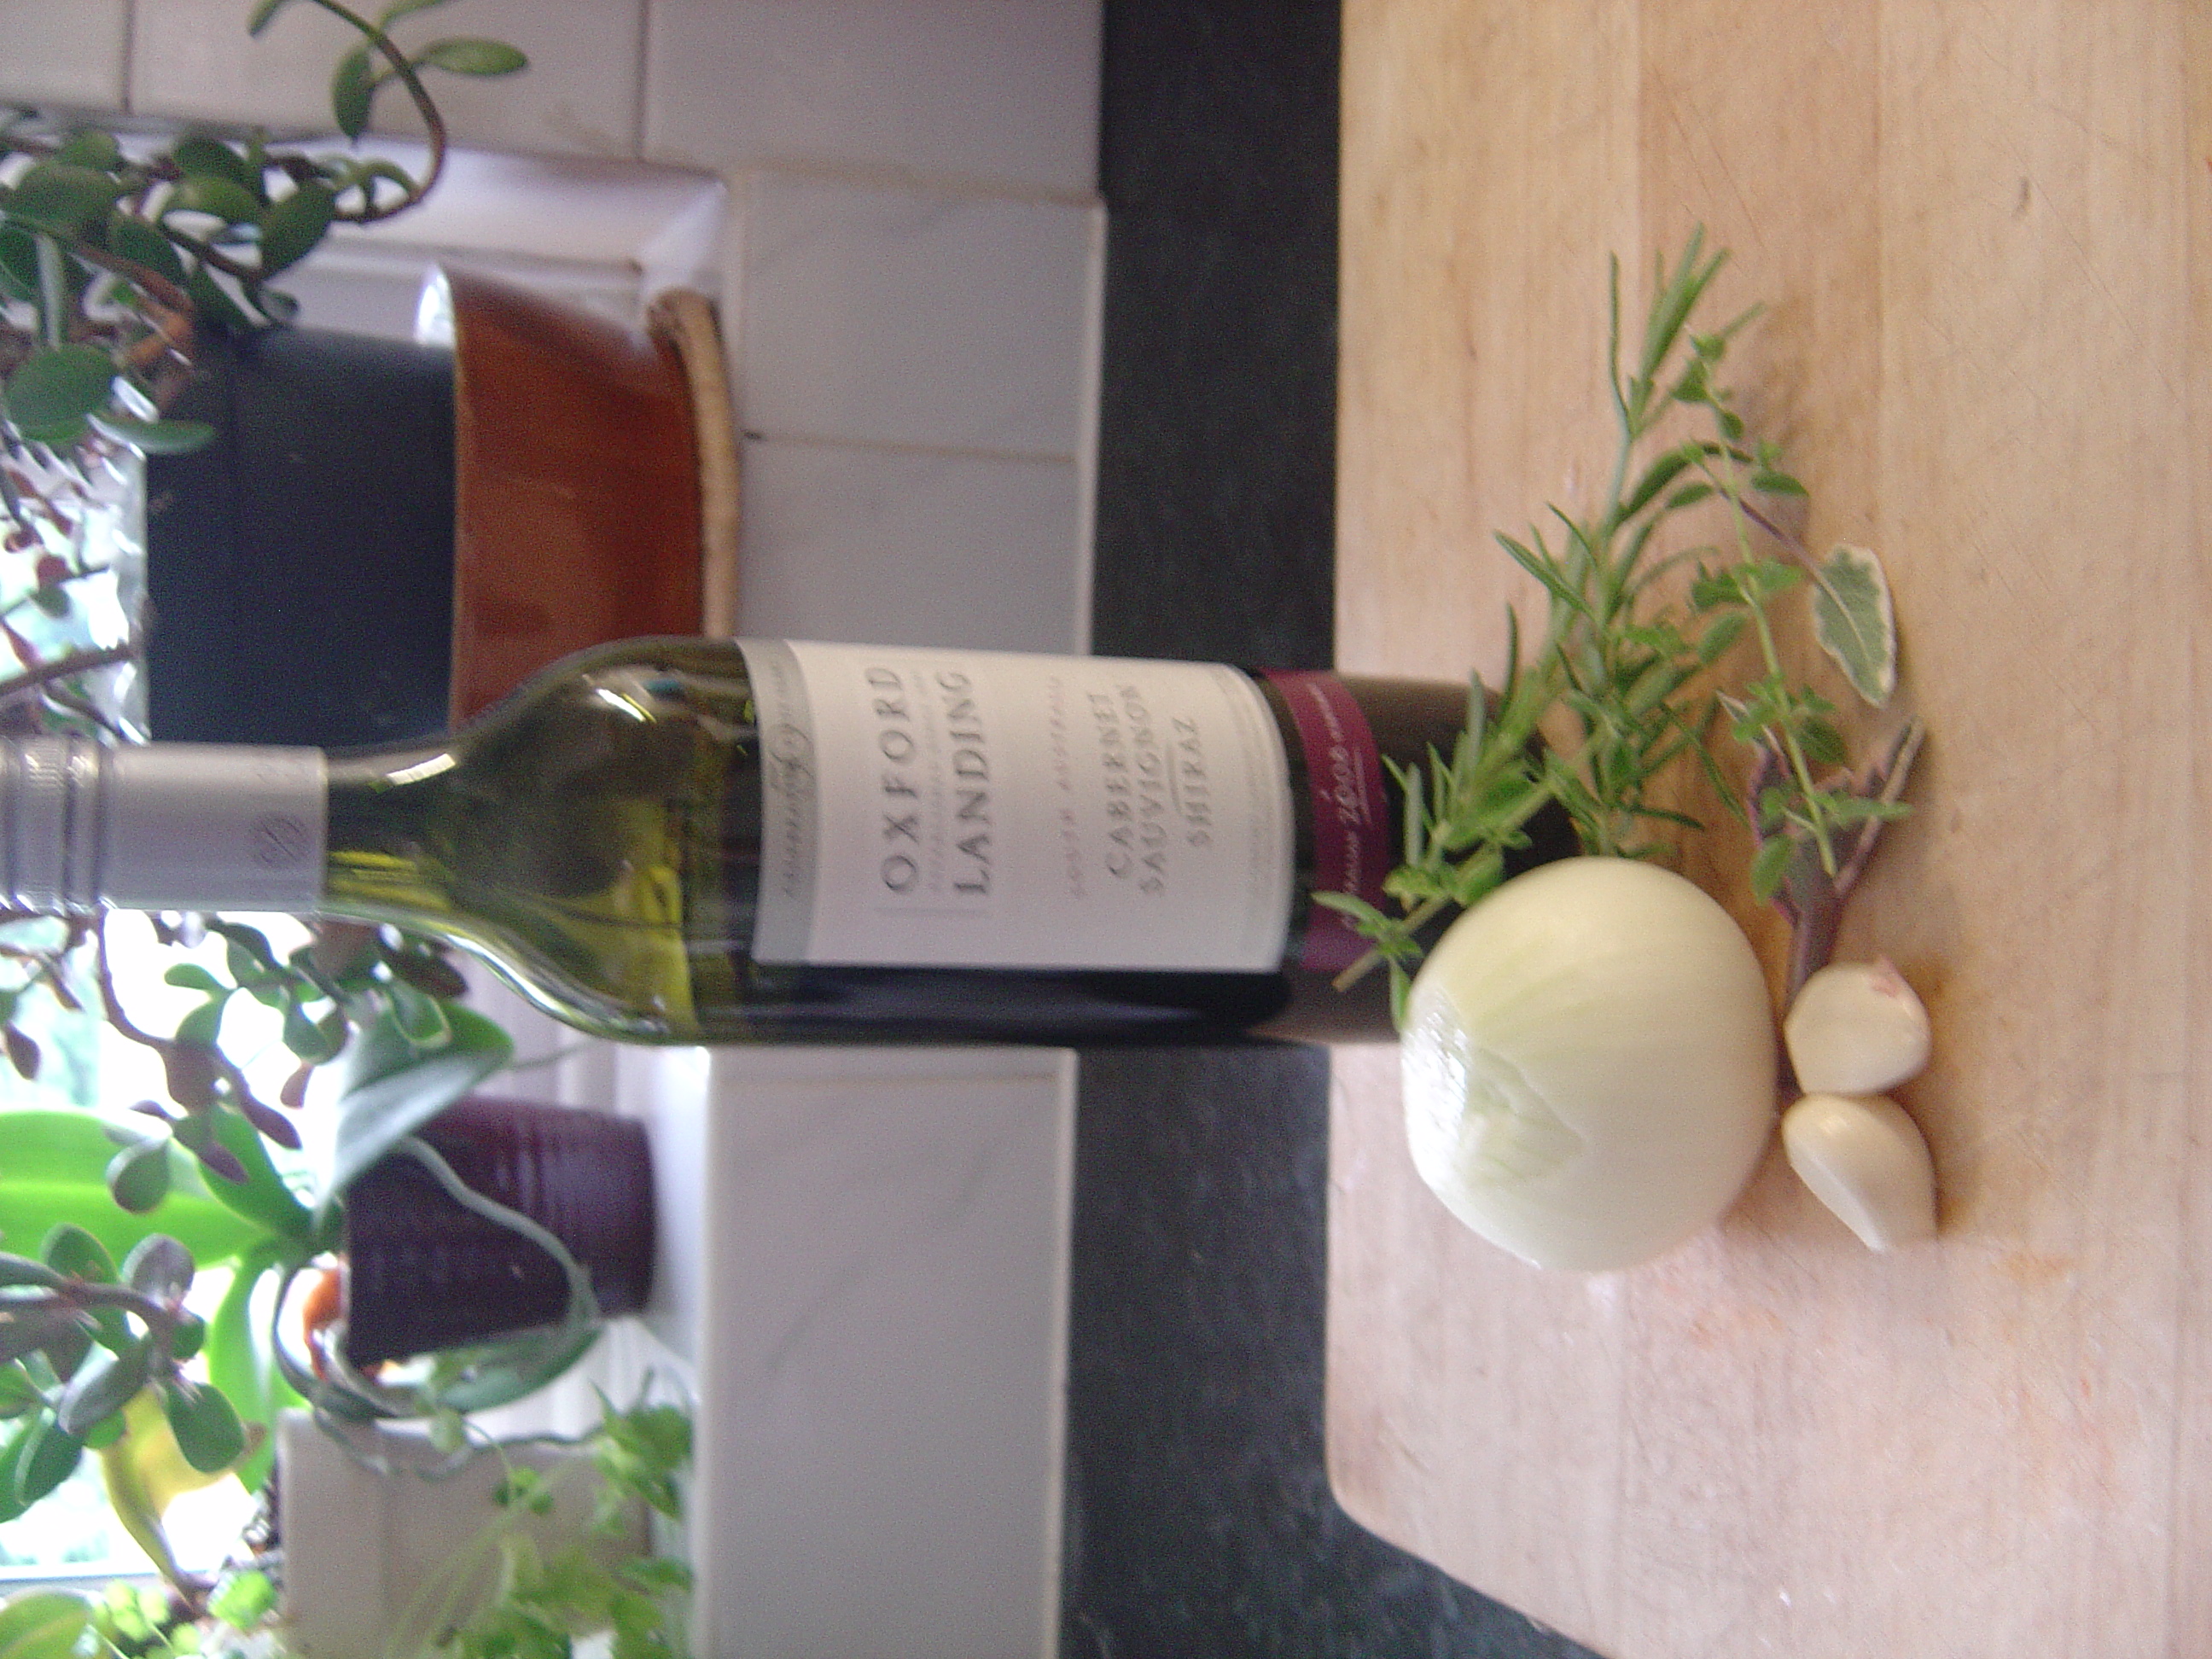
 In an effort to economise , I had decided to try to cook some of the random things I have lurking at the bottom of my freezer, so along with some rogue frozen peas, some indefinable bags of some kind of sauce that clearly I thought was delicious enough to freeze but wasn’t efficient enough to label, there were two packs of boneless pheasant. Delighted with my booty, I decided that a pheasant casserole with chestnut mushrooms, blackberry jelly and mustard was the ideal thing, and whilst maybe not a fresh, summer recipe and more suited to a cold day, would still be delicious for dinner, maybe we could borrow some air conditioning to make it seem more wintery? This dish would work really well with chicken, venison or rabbit. You will need : Boneless pheasant thigh fillets,small packet of cubed pancetta, 1 chopped onion, handful of chopped fresh herbs, 2 cloves of garlic, crushed,2 tablespoons of bramble jelly (or redcurrant if you have no bramble), 1 tablespoon wholegrain mustard, punnet of Chestnut mushrooms and 1/4 pint strong chicken stock, glass of red wine or port., Salt and pepper to taste
 The method is simple: Fry the pancetta until golden in a heavy bottomed casserole (le creuset is perfect), add chopped onion and garlic and fry until brown, add the herbs and the pheasant and mushrooms and brown for a couple of minutes. Add the mustard, bramble jelly, stock and red wine. Bring to the boil and place in a low over (Gas Mark 3 or 160C) for a
  minimum of 2 hours. Don’t forget when you are cooking game, that because of the low fat content, it is never going to be falling apart tender like chicken and will always have a slightly drier, firmer consistency, but I find if it is gently simmered fo a long time, that the consistency is lovely. Serve with mashed potatoes and a green vegetable and the good thing about this is you can leave it simmering away in the oven while you nip out to the shops, to buy yourself a little treat …economising, who me??
magic mushroom risotto
 It’s magic because it’s so easy and it is does make you feel great in a lovely, comfort eating sort of way, but probably no hallucinations, which is a good thing. Making a fantastic risotto is all about the arm muscles, basically you have to stir and stir or you won’t get that lovely creamy texture. I always keep risotto rice (Arborio is my favourite) and dried mushrooms in my store cupboard, because it means you always have an instant, lovely supper available when the fridge is looking woeful and there’s just a mouldy bit of cheddar and a few pathetic, withered vegetables that are so far gone, you don’t even know what they are. There’s always a bottle of fizz though, after all you have to have some standards! To serve 2 to 3 for supper or 4 as a dinner party starter, you will need:
- Knob of butter
- 300g risotto rice
- Wild mushrooms, any kind you like, I used fresh shiitake, you can use dried ones that have been soaked
- 1 litre of stock (chicken or vegetable) – you can make with a stock cube or have ready-made, if you want it to be really fancy, make it with half dry white wine, made in a saucepan
- Zest and juice of 1 lemon plus a few saffron strands (optional)
- Bunch of spring onions, chopped
- 2 cloves of garlic, crushed
- 2 tablespoons of grated parmesan
- A few shaves of parmesan for decoration
- I also added some fresh tomberries – (have you ever seen them before, aren’t they sweet? They are about the size of blueberries, for comparison in the picture, below, I put them next to a cherry tomato) You can substitute with cherry tomatoes, but they are optional
- Chopped parsley or fresh basil – depending on whether you added tomatoes or not
Method
 Place the stock, zest and juice of the lemon and the saffron in a saucepan and bring to the boil, then place on a low simmer.
In a large non-stick saucepan gently cook onion and garlic in the butter until soft, but not brown.
 Add mushrooms and simmer gently for about 5 minutes until they are soft.
Add the rice to the onion and mushroom mixture and stir thoroughly.
 Add a ladle full of hot stock and stir constantly, when all the stock has been absorbed, add the next one, repeat this method until you have used all the stock, this process will take you at least 20 to 30 mins .Taste and if the rice tastes chalky and not creamy, keep stirring and add a little more water. Finally, add the parmesan cheese.
 At this point I added the tomberries, but this is optional. Because of the tomatoes, I added fresh basil, but parsley is good, too. Garnish with some parmesan and serve! If you are cooking for a dinner party, you can at least cook the onions and mushrooms in advance and then heat up the stock and start adding the rice, to save time.
The added bonus of this dish is not only does it taste great, but it stops you getting bingo wings.
Happy weekend everyone!
Comfort Food for big and little kids – Tuna Macaroni Bake
This is one of my favourite comfort foods, and even better it is incredibly easy to make.

Cook macaroni according to the packet instructions, drain and place in an ovenproof dish. Add 1 can of tuna, 1 tin of Heinz tomato soup (it has to be Heinz or it doesn’t taste the same, ignore impostors),4 ozs grated cheddar cheese and mix well. Grate a bit more cheddar on the top and place in the oven gas mark 4, 180C or 160C fan for 30 to 40 minutes until the top is brown and bubbling.
Braise me gently, braise me slowly….take it easy, don’t you know, I have never been cooked like this before
Keep your rocking, Andy Kim (who?) I want braising! Slow cooked brisket of beef is very under-rated. It’s not pretty and it’s not clever looking, but oh my, it tastes wonderful and is completely and utterly trouble-free.
All you will need is 1 brisket of beef (try and buy one with a good marbling of fat as it will be more tender) a handful of mixed, fresh herbs,2 cloves of garlic, 1 onion cut in to quarters (optional), red wine or beef stock and 1 tablespoon of olive oil.
Pre-heat the over to Gas Mark 2, 160C or 140C for a fan oven
In a really heavy casserole dish, Le Creuset is perfect for this, heat up the tablespoon of oil and then add the brisket and brown all over.

Add the garlic, herbs and onions and add about an inch of red wine or beef stock.
bring to the boil, quickly place the lid on and put in the pre-heated oven for a minimum of three and a half hours, you can leave it up to five, it is a very forgiving dish.
 This is what you end up with. Delicious, gorgeous, tender beef, in a really rich gravy that all you have to do is add extra seasoning to, if you wish. You can add extra red wine to further de-glaze the casserole for extra flavour.
Serve with mash, a glass of red wine. Heavenly!
Belly dancing in the kitchen
 Well, it’s not really dancing, but I do a little dance for joy when I cook belly of pork. It is one of my most favourite things to cook and to eat. Yes, I know it’s fatty, so I only do it sometimes, but oh, oh, oh I love that crackling and tender pork.
It’s so simple all you need is
- A handful of fresh sage, stalks discarded
- 3 cloves garlic, roughly chopped
- grated zest and juice of 1 unwaxed lemon
- Pork belly
- Preheat the oven 220C/200C Fan oven, gas mark 7.
- Either put the herbs, garlic, lemon juice and zest in a blender or Roughly chop the sage then, using a pestle and mortar, grind with the garlic and lemon juice and zest and seasoning to make a thick paste.
- With a sharp knife, make incisions into the flesh and rub the paste into the incisions and over the flesh, taking care to avoid the skin.
- Transfer to a roasting tray, dry the skin and season it with a little salt
- Roast for 20 minutes then reduce the oven to 170C or 150C for a fan oven/ gas mark 3 for a further 2 hours until the pork is thoroughly cooked and the juices run clear.
- Leave to rest for 5 minutes then if the crackling is not crisp enough, place under a hot grill until it puffs up and goes crispy

- If I am cooking this for a dinner party, I drain off the excess fat, add some diced cooking apple to the pan juices and cook for a couple of minutes, then I de-glaze the pan with cider or white wine and add single cream just before serving
I just love a nice fat belly – when it’s pork anyway!

